Triggers
General information
A trigger is a chain of automated actions that a partner uses to interact with clients. The chain starts when a specific tag is assigned to a client.
Examples of trigger scenarios:
- Welcome - a welcome scenario related to new client registration, for example bonus accrual for registration or an email with loyalty program terms.
- Purchase - a scenario related to a purchase, for example bonus accrual for the first purchase or an email with a promocode for the next one.
How triggers and tags work
- You cannot create several triggers with the same start tag.
- Trigger scenarios are named after the tags that launch them. The only exception is the
Purchase counttag, which appears in triggers asPurchase confirmation. - If a tag is renamed, including in another language, the connected trigger is renamed automatically. A trigger cannot be renamed independently of its tag.
- Triggers based on
flagtags cannot be launched repeatedly, for example from the client card. Reassigning such a tag does not relaunch the trigger scenario and does not produce an error. This follows from the one-time assignment logic of flag tags.
Creating, activating, and managing triggers
Creating a trigger
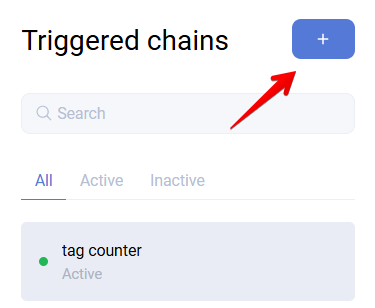
- Go to the Triggers section.
- Click the
+icon and choose the start tag. You can use an existing tag or create a new one.
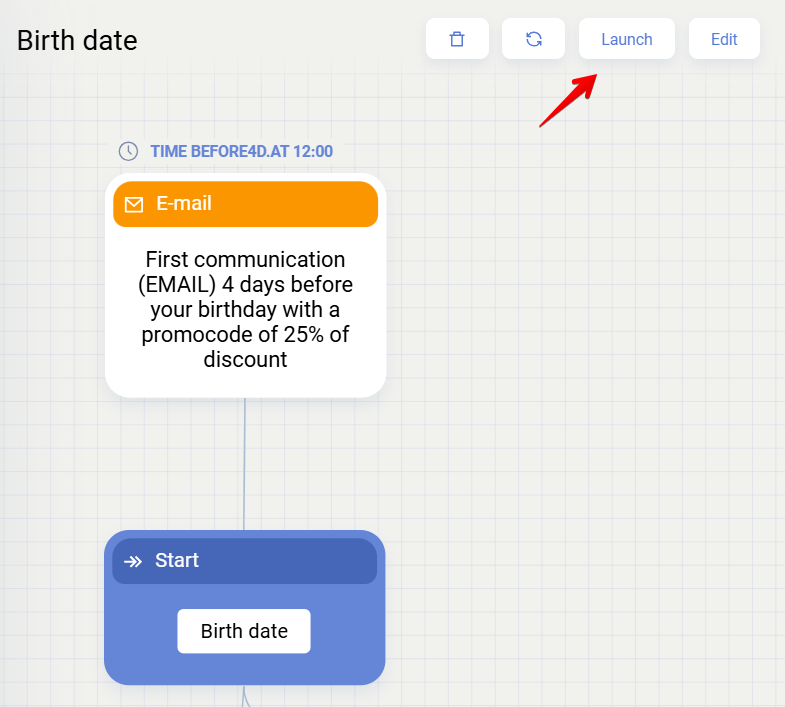
Activating and deactivating a chain
- After creating a trigger, activate it using Launch.
- To deactivate it, click Stop in the list of active chains.
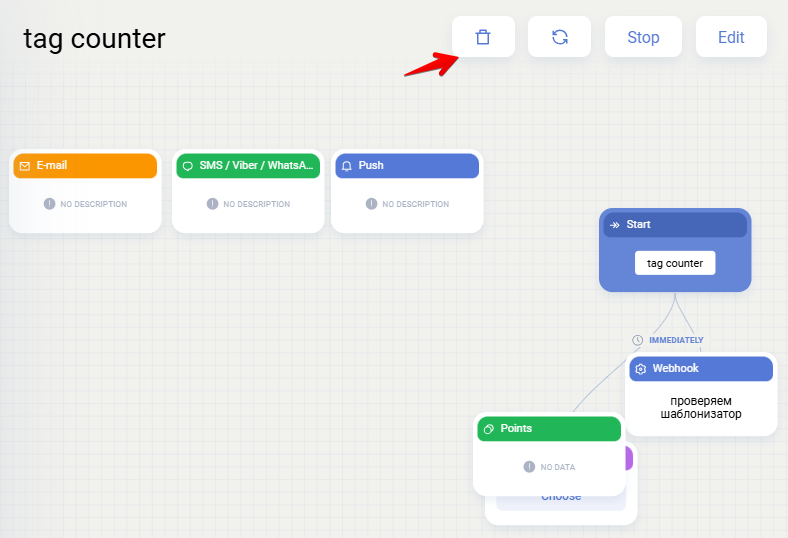
Deletion
- Only the trigger chain itself can be deleted, using the trash icon.
- The tag cannot be deleted permanently. It can only be moved to a
Deletedfolder. The trigger is not deactivated automatically in this case and must be stopped manually.
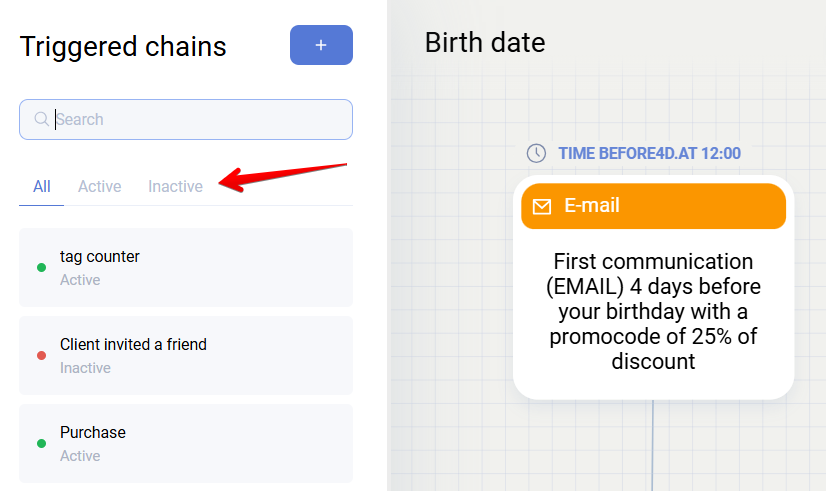
Navigating the trigger list
- The list has three tabs:
All,Active, andInactive.
Trigger launch order
When system tags such as Purchase are assigned, triggers fire automatically. For all other tags, the trigger scenario is launched by a separate action.
A trigger starts when a tag is assigned to a client in one of the following ways:
- API request - the
users/tags/add/method - Auto-segmentation - if the segment configuration enables
Launch trigger scenario for this tag
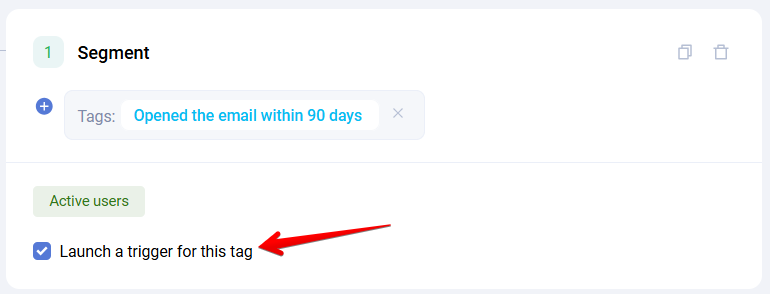
If you first create auto-segmentation for a flag tag, assign that tag to clients, and only later add a trigger chain to that tag, the trigger will not be launched retroactively for those clients.
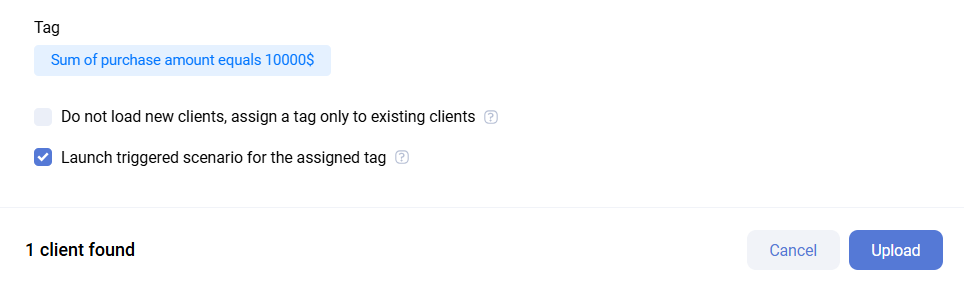
- Client upload - if the
Launch trigger scenario for this tagcheckbox is enabled during upload, whether by list or file
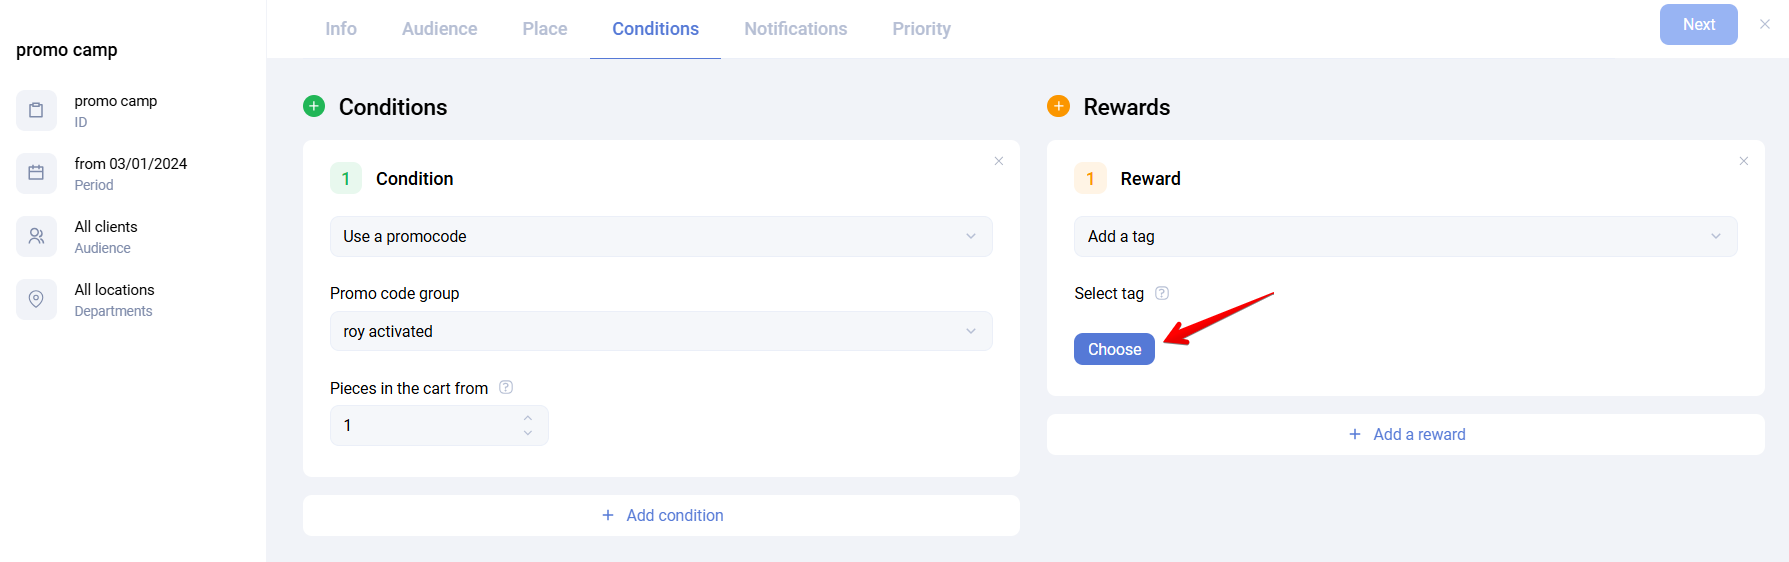
- Promotions - if the reward of a promotion assigns a tag
- Client card - by clicking Launch trigger
- Another trigger - if the chain contains a block that assigns the start tag of another trigger
- If you try to start a trigger based on a system tag using any of the methods above, a duplicate tag is created, but the chain is not launched because it is bound to the original tag.
- Tags such as
subscribed to Email,subscribed to PUSH, andsubscribed to SMS, as well as similar unsubscribe tags, do not control the client's subscription status. They only record the actual subscription or unsubscription event. You cannot subscribe or unsubscribe a client by assigning these tags.
A trigger does not fire if the tag was assigned:
- from the client card via + Add tag
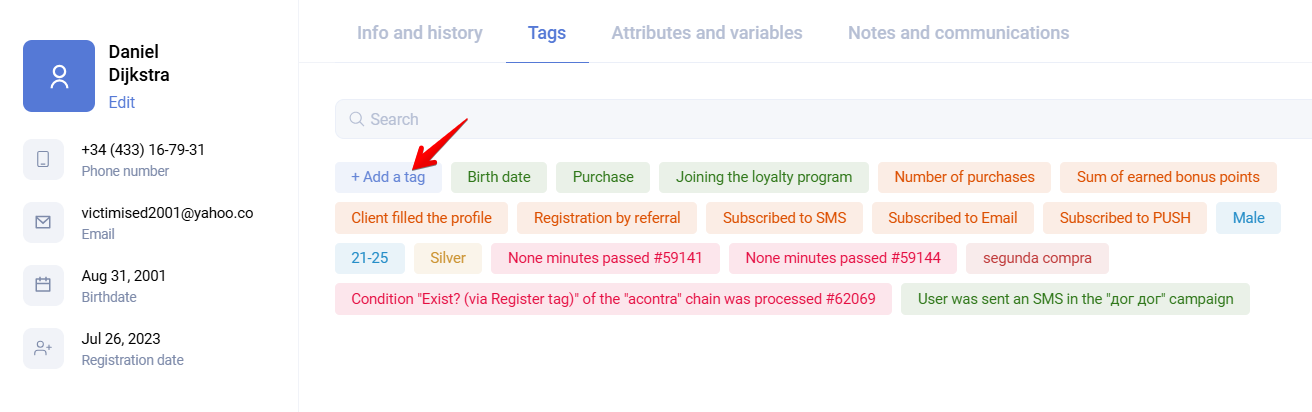
- through auto-segmentation or client upload when the corresponding checkbox is not selected
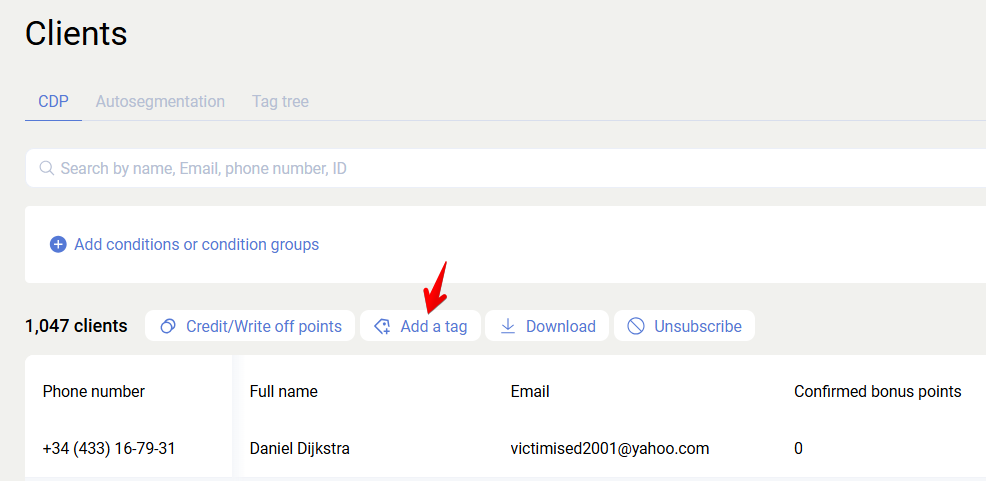
- through bulk tag assignment in the Clients section
Trigger blocks
General information
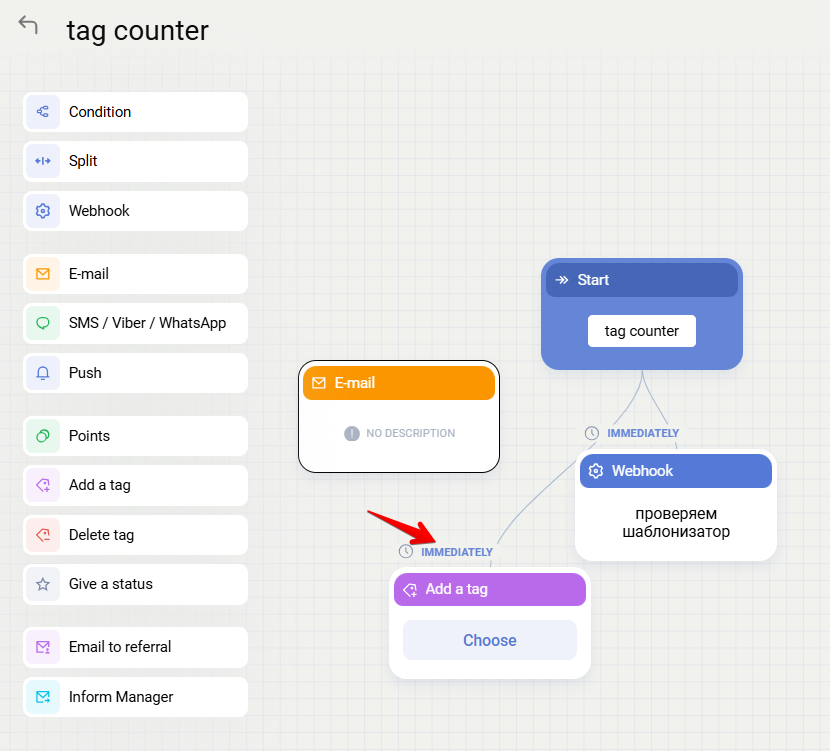
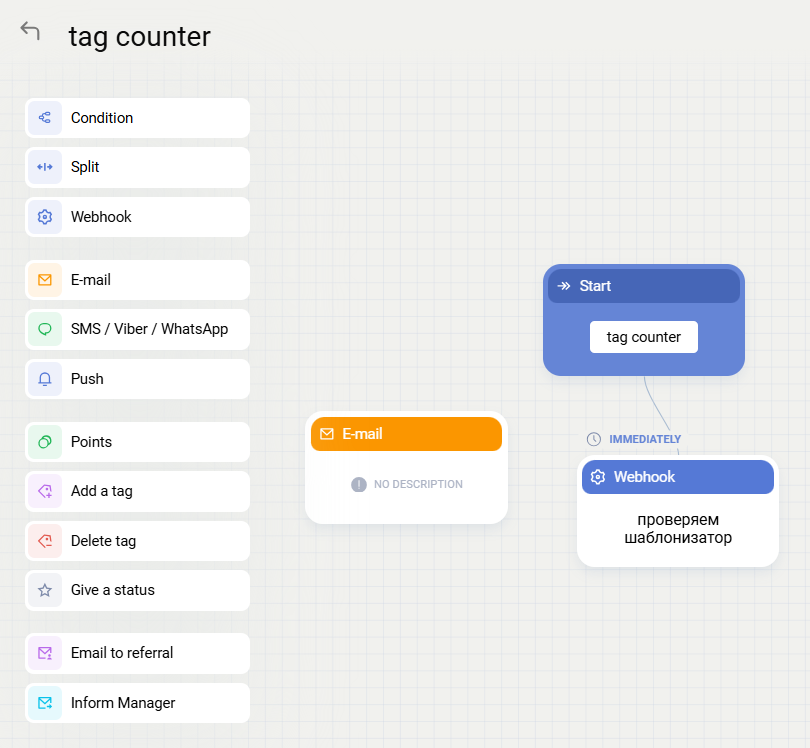
A trigger is a sequential chain of blocks, where each block represents a specific action. Only blocks connected to the previous action are executed. A single block may lead to one or several subsequent actions.
Available block types are shown on the left side of the trigger editor. To add a new block, choose the required type from the list in edit mode.
Delay before block execution
By default, the next block starts immediately after the previous one is executed. A delay can be configured by clicking Immediately above the block and selecting the required delay.
If a counter-type block has a delay configured and the chain tag is assigned again before the countdown finishes, the countdown starts over. For example, if an email should be sent 30 days after the Purchase tag is assigned, but the client makes purchases every week, that email will never be sent.
A special delay type is Condition after wait:
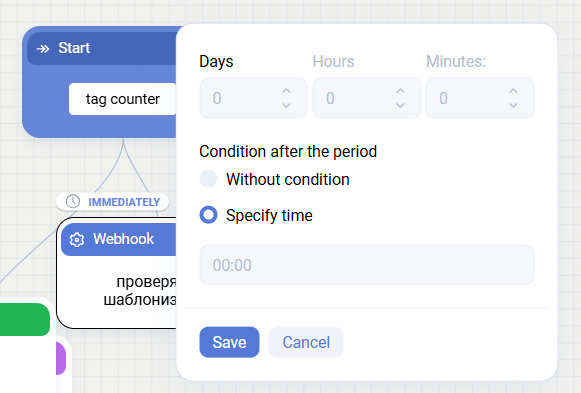
Without condition
- The block is executed after the specified amount of time after the previous block.
Example: the tag is assigned at 10:26. If the trigger block is set to 3 days without a specific time, it will fire exactly three days later at 10:26. If days, hours, and minutes are all set to 0 and without condition is selected, the block fires immediately.
Specify exact time
- The block is executed after the specified number of days at a specific time. The minimum delay in this mode is
1day. You cannot set0days with an exact time. This restriction exists for all trigger types because usingtodaywith an exact time may produce ambiguous behavior. For example, if the configured time is today at10:00but processing occurs at12:00, the system would end up in an undefined state.
Blocks are always executed in Moscow time, regardless of the partner's time zone.
Specifics of the Birthday trigger
Unlike other triggers, the Birthday trigger allows blocks to be scheduled before the trigger's original start event. Standard blocks can also be added after it.
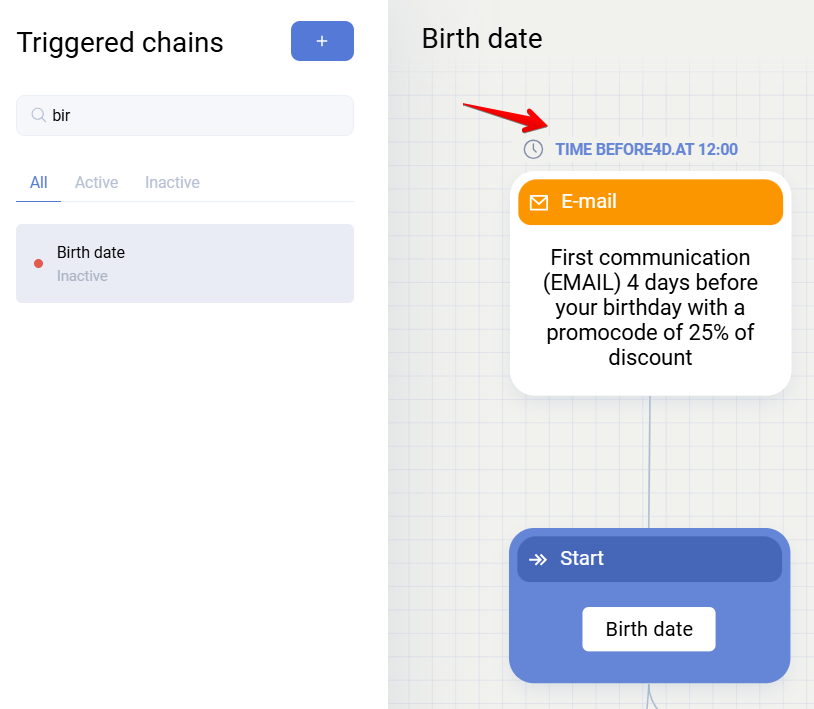
This trigger uses a special mechanism. The Birthday tag itself is assigned only once, when the client's date of birth is specified. Assigning the tag does not launch the trigger automatically, unlike other system tags.
By default, birthday trigger blocks use 11:00 on the birthday itself. Because of the general scheduling rule, another time cannot be set within the same day, since specific time cannot be configured for today. If you change the time, one more day is added.
This should be taken into account when configuring a birthday trigger, because in many cases a communication must be sent on the client's actual birthday.
Trigger block types and settings
Condition
The Condition block checks whether a client meets specified criteria and then selects the next path depending on the result.
Several conditions can be checked within a single block. Logical operators AND and OR are available and are selected in the Condition comparison type field.
After entering an optional description and selecting the condition comparison type, click Add condition.
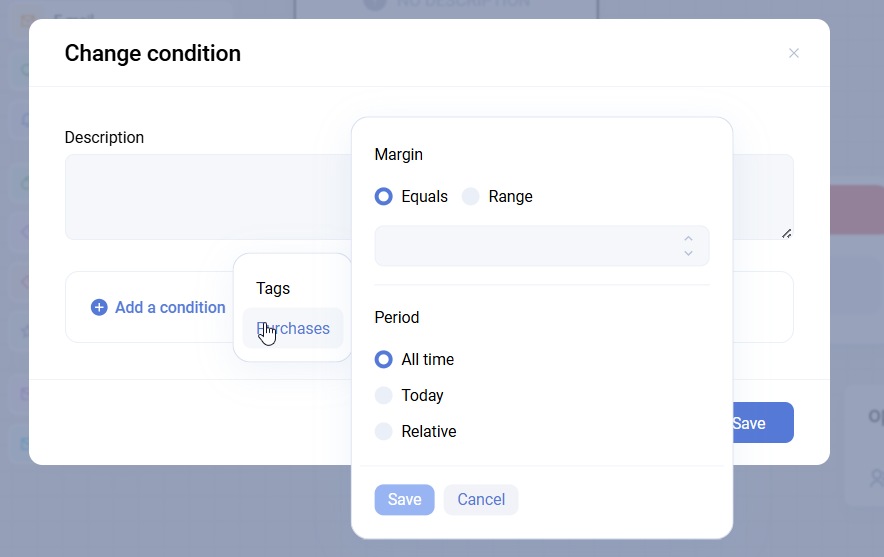
Then choose the condition type:
- Tags - checks whether the client has a tag of any type during the specified period, and whether a counter tag exists in a specified quantity during that period.
- Purchases - checks whether the client made purchases during the selected period and for the specified amount.
Entered purchase amount ranges are inclusive.
You must also select the period during which the condition is checked:
- All time - the condition is checked over the client's entire lifetime
- Relative time - the condition is checked for a period relative to the current check time
- Number of calendar days - the condition is checked during the selected number of days, where
0means today,1means yesterday, and so on
During trigger execution, Sailplay assigns automatic tags for each condition to show whether the chain condition was initiated, passed, or failed. These tags are useful for checking how the trigger worked for a specific client in the client card.
Splitter
The Splitter block divides the trigger flow by configured proportions without checking a condition. Up to four branches are supported. For example, if the first branch is set to 70% and the second to 30%, the first branch will be used for roughly 7 out of 10 clients and the second for roughly 3 out of 10.
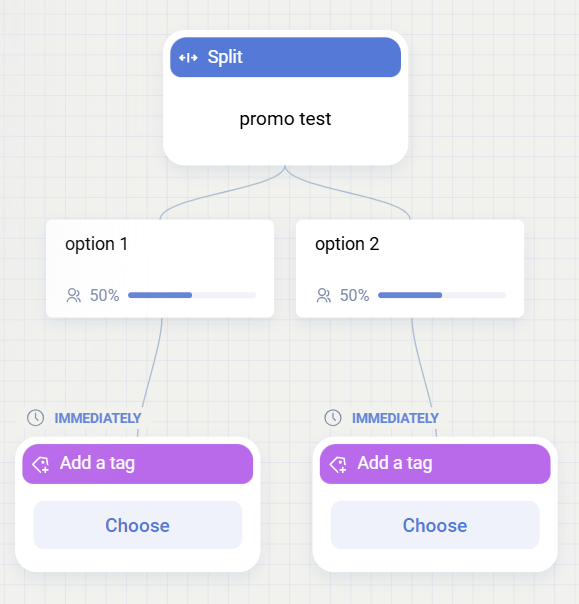
The probability of each branch is recalculated every time, so the smaller the sample, the more the actual result may differ from the configured proportions. For example, in a test with two branches at 50% each, one scenario may be launched for 66 out of 108 clients and the second for 42.
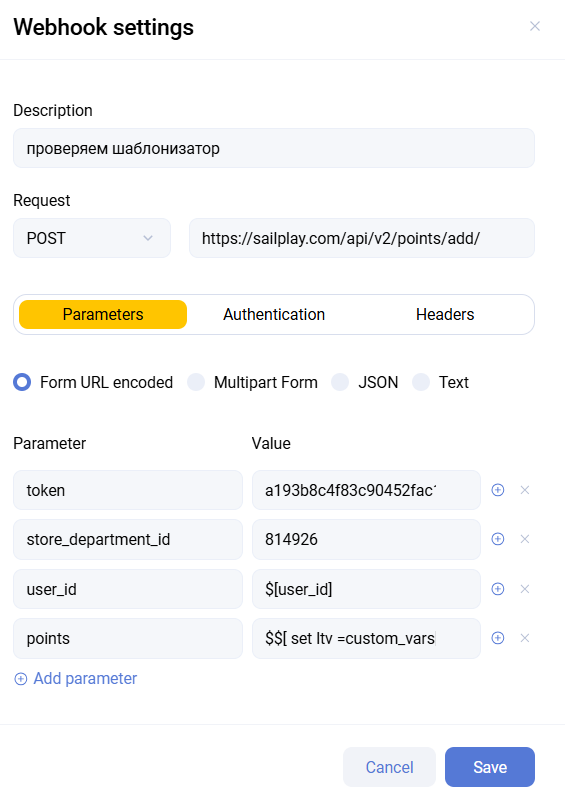
Webhook
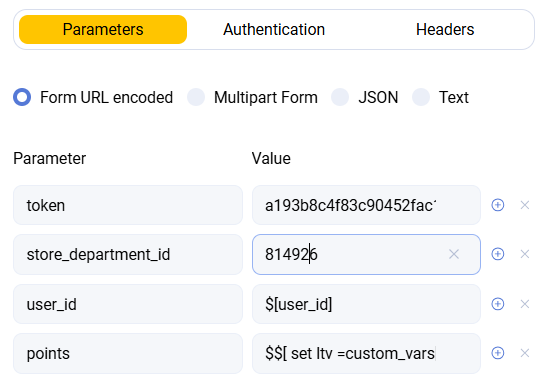
The Webhook block sends a request to an external resource or to the Sailplay API.
The webhook settings allow you to specify:
- description, which is shown when viewing the whole trigger chain
- request method (
GET,POST,PUT,PATCH,DELETE) and URL - request parameters in one of the supported formats:
Form URL encoded,Multipart Form,JSON, orText - variables from the list and images from the content manager for
Form URL encodedandMultipart Form
Below is an example of a webhook that requests a promocode from the Sailplay API.
- authentication type (
No Auth,Basic Auth,Digest Auth). By default,No Authis selected. - request headers
Email, SMS/Viber/WhatsApp, Push
The settings of these blocks are similar to the settings of regular mailings.

There are two differences from regular mailings:
- trigger mailings do not have audience settings
- a mailing can be sent from a trigger even to unsubscribed clients
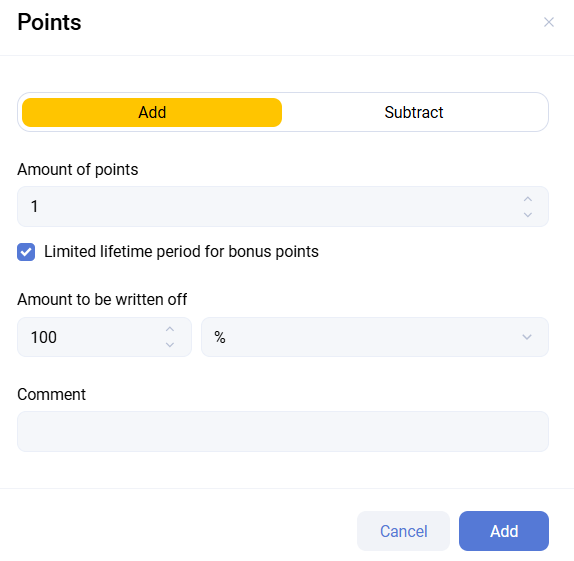
Points
The Points block is used to accrue or deduct bonus points for clients.
Settings:
- specify the number of points and a comment
- the Limited validity period for points option allows you to define when unused points expire
- you can also specify how many points expire, either as a percentage or as an absolute number
For point deduction:
- when Limited validity period for points is enabled, an additional Deduct points block is created automatically
- configure the delay for that block because it determines the expiration period
- Other actions can be placed between accrual and deduction. In that case, the countdown for deduction starts from the execution time of the previous block. For example, an SMS can be sent one day later, and points can be deducted one more day after that SMS.
- Bonus points are deducted using FIFO, but the order is based on the accrual date rather than the expiration date.
Example: client 1 has two accruals:
| Accrual | Number of points | Expiration date |
|---|---|---|
| accrual 1 | 1000 points | 2025-06-04 |
| accrual 2 | 500 points | 2025-03-06 |
If 100 points are later deducted for a discount, the system will deduct them from accrual 1, even though accrual 2 expires earlier.
Assign tag / Remove tag
The Assign tag / Remove tag block automatically assigns or removes a client tag. The block editor displays the tag tree, where you can select a tag to assign or remove, or create a new one.
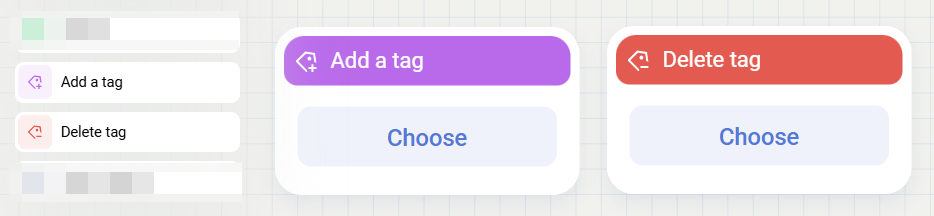
These blocks can also be used to remove tags from clients in bulk through the dashboard.
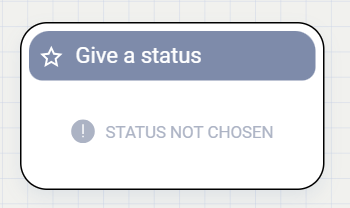
Assign status
The Assign status block assigns a specific status to a client. This is a deprecated feature and using tags is recommended instead.
Email templates
The last three block types are email templates. Their editing window is the same as the editor of a regular email inside a trigger.

Email to referrer
This block sends the email not to the client for whom the trigger fired, but to the client who invited them.
For example, client A invited client B to the partner's loyalty program. Client B, the referral, makes a purchase, which launches the Purchase confirmation trigger, but the email is sent to client A.
Redirect email
This block sends the email to the address specified in the trigger block settings instead of the client for whom the trigger fired.
This is useful, for example, in fraud-control scenarios where a client makes too many purchases and an internal warning email should be sent to an employee.
Double Opt-In for Email
If the Double Opt-In for Email block type is not available in the trigger settings, the partner does not have subscription confirmation enabled and it must be configured in Settings.
Double Opt-In, or DOI, is a process in which a client explicitly confirms consent to receive mailings. After the initial subscription, the client receives an email with a unique link that must be clicked to confirm the subscription. This ensures that mailings are sent only to users who consciously confirmed consent.
DOI email specifics
- To receive a Double Opt-In email, the client must not already be subscribed to email mailings in Sailplay.
- The email must contain the
$[email_activation_url]variable. In markup, it is used as follows:
<a href="$[email_activation_url]" target="_blank">Subscribe to mailings</a>
$[unsubscribe_url]should not be used in such emails.
DOI trigger launch can be configured in two ways:
- On the Sailplay side during client registration. For example, you can create a trigger based on a DOI tag and add a DOI email to it. Then assign the DOI tag in the
Loyalty program registrationtrigger so the confirmation email is sent immediately after registration, even without explicit consent at that step. - On the partner side by assigning the tag through the API. For example, a client fills in a form on the partner's site, the form submission sends a request that assigns the DOI tag, the trigger launches, and the email is sent. In this case, the partner can independently decide whether the client has granted consent before assigning the DOI tag.
Using tag parameters in email markup
When a tag is assigned in a request, additional parameters can be passed. These parameters can then be extracted and used in the email markup. This works in both bulk and trigger mailings, but is especially common in triggers, for example for service emails.
Request example
/api/v2/users/tags/add/?token=TOKEN&store_department_id=SID&email=email@retailrocket.io&tags=tag_name¶ms={"param":"value"}
where:
- tags - the tag name
- params - a JSON object with the information that should be displayed in the email
Using the parameters
To use the passed data in email markup, use the following construction:
$[tag_params["tag_name"]["param"]]
where:
- tag_name - the tag
- param - the key name from the
paramsJSON
With this construction, the email will display the corresponding value.
To avoid errors when passing data, do not use Cyrillic characters in param key names.